
Step 1: Gather ideas
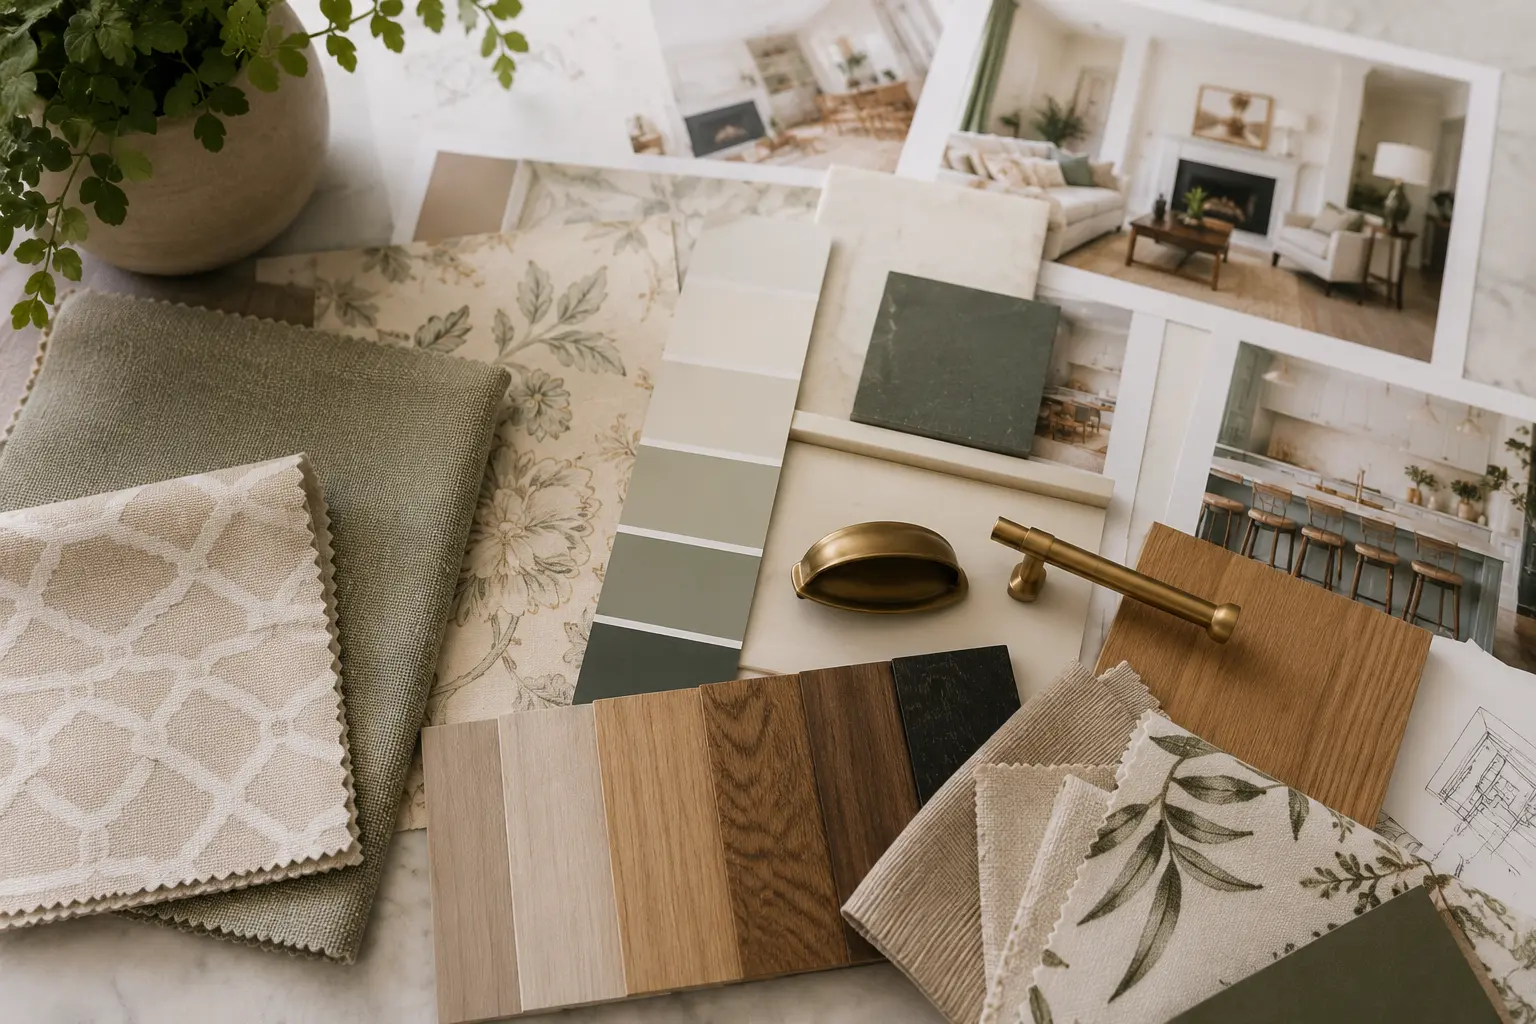
Before I make any decisions, I like to gather a little inspiration first. Pinterest and Instagram are both great for this. Save anything that catches your eye, even if you're not sure why yet, and patterns in what you're drawn to will start to emerge. I've also started using ChatGPT as a planning tool, asking it to build a mood board of coordinating colors based on a fabric, wallpaper, or piece of art I already love. It's a quick way to see a full palette come together and takes so much of the guesswork out of choosing colors that actually work together.
Once you've got your color palette figured out, let it guide pretty much every decision from there. Paint, wallpaper, wood tones, metals, fabrics- I try to pull all of it from that same palette so the room feels like it was actually planned, not just pieced together as I went.
Step 2: Answer a few key questions
Once you have a little inspiration to work from, I like to work through a few categories of questions before making any purchases. Answering these up front will save you from costly mistakes later.How the room will actually be used:
- What size is the room you're working with?
- What overall feeling are you going for: cozy, modern, minimalist, something else entirely?
- Does the space need to do double duty, like fitting in a workspace or a vanity?
- Who's using this room day-to-day, and does that mean you need more durable, low-maintenance materials because of kids or pets?
- What does a typical day in this room actually look like, and are there hobbies or routines that need their own space or gear?
- How much privacy or quiet does this room need, and will you need things like heavier curtains or a thicker rug to help absorb sound?
- How much upkeep are you realistically willing to do, since some materials look beautiful but require much more maintenance than others?
- Could this room need to serve a different purpose down the road, and does that change what you're willing to spend or commit to right now?
The environment you're working with:
- Which direction does the room face, and how does that affect the natural light throughout the day?
- Where are your outlets, switches, and vents located?
- Are there any architectural features worth highlighting, such as a fireplace or a nice view?
- How tall are your ceilings?Is there existing flooring or built-in features you need to work around or keep?
Logistics and budget:
- What's your total budget, and are you factoring in delivery and assembly, not just the sticker price?
- Is there furniture you already own that you want to build the rest of the room around?
- What will your storage or organization needs be?
- What's a realistic timeline for you to finish this space?
- Will those larger pieces actually fit through your doorways and hallways once they're delivered?
Step 3: Map out your layout
With your inspiration and your answers in hand, get a clear picture of your actual space. Sketch out a rough floor plan and note where your windows, doors, outlets, and vents fall, along with which way any doors swing open and ceiling height, since that affects where furniture can realistically go. There are free online tools that let you play around with layouts digitally if you'd rather not sketch them by hand, and they're a much easier way to test ideas before you buy anything.
If you already have furniture you plan to use, work your layout around those pieces first rather than trying to force them in after the fact.
Once you're ready to shop, bring your room sketch, photos, saved ideas, and color palette. Having it all on hand makes it so much easier to make confident decisions in the moment rather than guessing whether something will actually work once you get it home.
Step 4: Think through placement
- Where you place your larger furniture matters more than most people think. Here's what I keep in mind once I actually start arranging furniture:
- Start with your anchor piece, a bed, a sofa, a desk, whatever's carrying the most visual weight in the room, and build everything else around it instead of treating it like just one more item to place.
- I always try to keep at least one window reachable and unblocked. It's not just about the light; it matters for safety too.
- Check every door in the room- entry, closet, bathroom and make sure your furniture still lets each one swing all the way open.
- Walk through the space and keep your main paths around 30 inches wide. Anything tighter starts to feel awkward to move through.
- If something has drawers, a dresser, or a desk, give yourself enough room in front of it so you're not squeezing every time you need something from it.
- Try not to line every big piece up against the same wall. Spreading your heaviest furniture out instead of clustering it all together keeps a room feeling much more balanced.
- Pair a few taller pieces with shorter ones nearby, rather than keeping everything the same height. It gives the eye somewhere to travel rather than settle on a single flat line.
- When possible, pull furniture a few inches away from the wall instead of pushing it flush against it. It's a small shift that makes a room feel bigger and more considered.
- Keep practical needs in mind too: lamps and electronics near outlets, a rug to separate zones if the room serves more than one purpose, and good light near anywhere you plan to read or work.
Step 5: Plan your lighting
One overhead light almost never makes a room feel warm and finished, not on its own. I think about lighting in three layers, and I like leaving room for the mood to shift depending on the time of day.
- Ambient lighting is your foundation: the overhead flush-mount, recessed cans, or a chandelier that fills the whole room with general light. I try to put these on a dimmer whenever I can, because softening that light in the evening makes such a difference.
- Task lighting is for the things you actually need to see clearly: a desk lamp for working, a reading light by your favorite chair, under-cabinet lights in a kitchen or workspace. I lean toward a slightly crisper, cooler bulb in these spots since clarity matters more than mood, especially somewhere like an office, laundry room, or vanity.
- Accent lighting is where I have the most fun with it. LED strips tucked under cabinets or shelves, a sconce washing light over a piece of art, a little uplight in a dim corner- none of it does any real work, but it adds so much depth. This is the layer that makes a room feel finished instead of just lit.
- For everything in the ambient and accent layers, warm bulbs in the 2700K to 3000K range tend to feel the coziest, while cooler bulbs around 3500K to 4000K make more sense for task areas where visibility matters most.
Step 6: Choose your colors and materials with intention
Texture is just as important as color, in my opinion. I never try to match everything perfectly. I'd rather pair something soft, like linen, with something solid, like wood. Then you can add a woven basket or a rug with a little texture for good measure. And don't be afraid to mix old with new. An antique or vintage piece sitting right next to something newer adds so much character to a room. A little warm metal, brass or aged gold, in your lighting or hardware gives it a nice bit of richness too. And if it's a space that gets a lot of use from kids, pets, and everyday life, I always lean toward fabrics and finishes that can actually hold up.
One more thing I've learned the hard way: always get samples before you commit. Paint swatches, wallpaper samples, fabric swatches, whatever applies to your project. Look at them in your actual room, at different times of day. Colors can look completely different under your own lighting than they do online or in a store, and that one step alone can save you from a pretty expensive mistake. I have made this mistake and spent time and money that wasn’t necessary.
Step 7: Don't forget storage
As a general rule, keeping the majority of your storage hidden behind doors or drawers and leaving just a little open for the things you actually want on display tends to keep a room feeling calm rather than cluttered. And it helps to have one small designated spot, a tray or a little dish, for the everyday things like keys or jewelry so they have a home instead of ending up scattered across every flat surface.
Step 8: Consider working in phases
If your budget is limited, there's nothing wrong with tackling a room in phases instead of all at once. Start with the pieces that have the biggest impact, like paint or wallpaper and your main furniture, then layer in the smaller finishing touches, art, lighting, and accessories, as your budget allows. A room doesn't have to be finished in one weekend to feel intentional along the way.
Taking the time to gather ideas and answer these questions before you start shopping will give you so much more clarity and confidence once you're ready to buy.